

How To Restore Old Black And White Photos In Photoshop
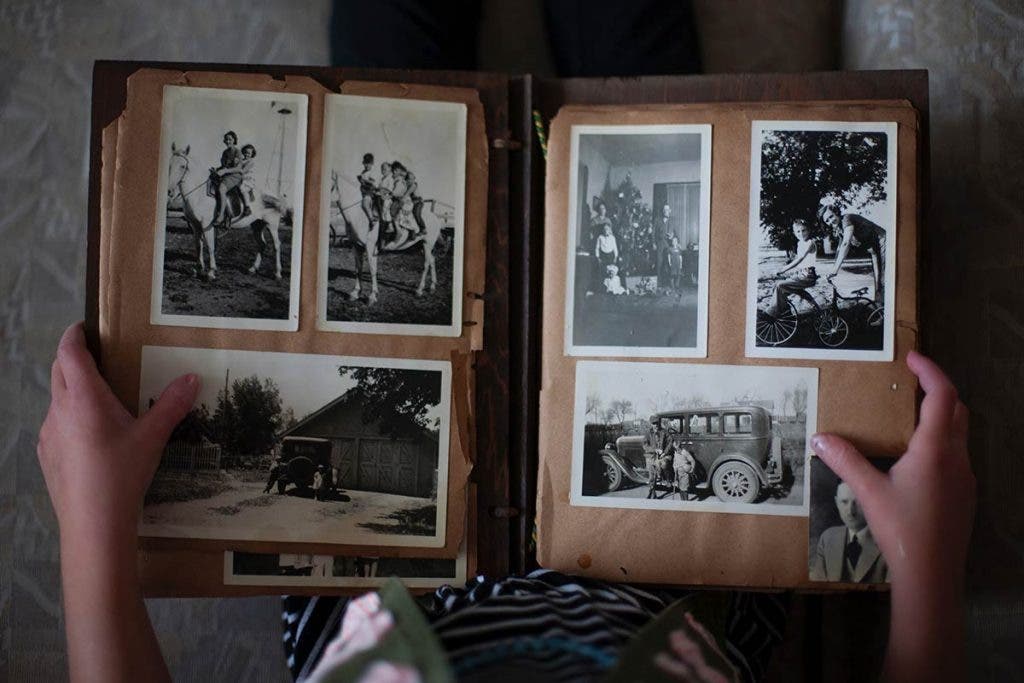
Back in the days of regular old film cameras, people didn't have the luxury of saving all their pictures onto memory cards and backing them upwardly on a computer. In those days, you lot had to get the whorl of movie adult, take the photos printed, and constrict them abroad safely into photo albums to ensure that the memories captured in each photo could exist enjoyed for years to come up.
Unfortunately, these printed photos take a limited lifespan considering the quality of the photo paper and ink used wasn't equally adept equally the quality of what we use at present. As the years went by, deterioration would set in, leaving us with photo albums and boxes total of old, damaged photos with faded ink, tattered edges, and even some scratches and stains here and there.
Thankfully, onetime photo restoration isn't all that difficult. You just have to know how to do it!
7 Steps to Restore Old Photos in Photoshop
Beneath we provide step-past-step instructions on how to restore old photos. These steps apply to digital photo restoration using the latest version of Adobe Photoshop.
How to Restore Old Photos in Photoshop:
- Digitize your old photo
- Open up the image in Photoshop
- Crop, straighten, or rotate the paradigm
- Review your photograph for whatsoever corrections you want to brand
- Make the necessary adjustments to your image
- Apply a filter to reduce noise
- Salvage the newly restored image
ane. Digitize your old photo
The start footstep in the old photo restoration procedure is to scan the paradigm to go a digital copy. You can use a regular photo scanner, take a photo using a digital camera, or use a scanner app on your smartphone.
Whichever method yous use, make sure that it will yield a large, high-quality re-create of the photo to make information technology easier to work with.
2. Open the image in Photoshop
Next, open the digital paradigm in Photoshop. Then create a second copy of the paradigm. Yous'll want to keep an original copy for reference, so you'll be working on altering the 2d re-create.
How to create a duplicate copy of an image in Photoshop:
- Select a layer in the Layers panel.
- Drag the layer to the Create a New Layer button, or select the Duplicate Layer pick from the Layers menu or Layers panel menu.
- If you lot've selected the Duplicate Layer choice, give your layer a proper name, and click OK.
Don't forget to click the centre icon on the left side of your original layer earlier working on your photo. Selecting the icon hides the layer from the console.
3. Crop, straighten, or rotate the paradigm
Before you lot can begin making any adjustments, make sure that y'all're working with a clean, properly oriented epitome. You can practise this by cropping, straightening, or rotating the epitome.
If at that place'due south any unwanted white space (or any kind of space that shouldn't be there) around the edges, you can simply crop all of that out.
How to crop your image:
- Click on the Crop icon on the toolbox (on the left side of Photoshop'due south default workspace).
- Draw a new cropping area or drag the edges of the crop box to the desired positions.
- Press Enter (Windows) or Return (Mac OS) to crop the epitome.
Y'all can likewise use the Crop card to keep your paradigm'due south aspect ratios proportional, but but if you lot're printing your sometime photo.
If the scan of your image is a bit crooked, you can straighten it out using the crop tool.
How to straighten a crooked image:
- Click on the Crop icon, so click the Straighten icon on the toolbar.
- Drag a line forth a horizontal or vertical element in the photo.
- Permit go of the mouse and then that Photoshop can rotate your image and ingather its uneven edges.
- One time you are satisfied, press Enter. Photoshop will also remove the excess paradigm if you've enabled the Delete Cropped Pixels checkbox.
How to rotate your prototype:
Photoshop CC lets yous rotate your image through its Image Rotation setting or the Transform function in the Edit carte du jour.
To rotate your image using the Image Rotation pick:
- Click on Paradigm in the taskbar.
- Select Epitome Rotation.
- Choose your preferred rotation.
To rotate your image using the Edit menu:
- Click on your image to select it.
- Click on the Edit carte du jour, and so choose Transform.
- Choose your preferred rotation.
4. Review your photograph for whatsoever corrections you want to make
Assessing the epitome you're working on will help yous make up one's mind on the adjustments or corrections that you want to make. Your desired changes will depend on your photo'south electric current status.
5. Brand the necessary adjustments to your image
In that location are two means to do this pace in Photoshop: adjusting your image'south color and fixing its damaged spots.
Make color correction adjustments.
Old photos are usually faded, simply if y'all want to amend the tone, color, contrast, and overall vibrancy of the photo, Photoshop tin can do these, too.
If you select Paradigm from the taskbar, yous'll see a drop-down carte that will pretty much give you everything you need for some basic colour correction. Under Adjustments, you'll see iii options: Auto Tone, Auto Contrast, and Auto Color. Try these out starting time and meet if these automatic corrections evangelize your desired outcome. If not, you tin can do these corrections manually.
It's a adept idea to learn how to read the histogram so that you can make highly accurate adjustments. From there, select Adjustments and utilize the unlike functions under this menu pick. At that place are basic adjustments such as Brightness, Contrast, Exposure, and Vibrance, or the slightly more in-depth adjustment tools such as Curves and Levels.
Depending on the condition of your photograph, the best fashion to restore former photos is to play around with these dissimilar adjustment tools to get the right tone, colour, and dissimilarity.
If your image has a color cast, here are a few steps to follow to correct the consequence:
- Highlight your duplicate layer, and then click on the adjustment layers icon under the Layers panel.
- Choose Levels from the adjustment layer options.
- To adjust your photograph's RGB (carmine, green, and blueish) levels, click on the defended tab. A RGB menu will appear.
- Click on whatever of the color options, and then bring the white and black sliders to the histogram's upward line.
- One time you're done adjusting the RGB levels, click on the Layers console to exit.
- Highlight your duplicate layer and your aligning layer, and then right click on the area and select Merge Layers to combine both layers.
Fix the damaged spots.
This part is where information technology gets a chip tricky—you'll definitely need an eye for item and a whole lot of patience! If there are any scratches, stains, and other unwanted marks on your photograph, y'all can employ a few beginner-friendly spot correction Photoshop tools: the Spot Healing Castor, the Patch Tool, and the Clone Stamp.
How to utilise the Spot Healing Brush:
- Click on the Spot Healing Brush icon (the one that looks similar a band-aid) on the toolbox.
- Choose your desired brush size in the options bar.
- Choose betwixt the Proximity Match, Create Texture, or Content-Aware Blazon options. Any of these options should piece of work for what you're trying to achieve.
- Select or deselect the Sample All Layers option if yous want to sample data from all layers or ane active layer.
- Click on the spot you want to prepare, or click and drag the brush over imperfections in a larger surface area.
How to use the Patch Tool:
- Select the Patch Tool.
- Select the area you want to repair past dragging, and so select Source in the options bar. You can also select your sample expanse by dragging and selecting the Destination pick.
- Adjust your selection past using the Shift-drag, Alt-drag/Option-drag, or Alt+Shift-drag/Option+Shift-drag combinations.
- Select Transparent if you want to extract a transparent texture from your sample area, or deselect it to put the sample surface area over the target surface area.
- Adjust the Diffusion slider.
- Place the pointer within your option, then drag it to your sample or patch area.
How to use the Clone Stamp:
- Click on the Clone Stamp icon in the toolbox.
- Adjust the brush size to the corresponding size you want. Use the options bar to ready your castor's blending mode, opacity, and menses.
- Set the Aligned or Sample options for specific pixel alignment and layer sampling.
- Alt+Click or Option+Click a clean spot that you want to "clone."
- Click or drag the cursor effectually the damaged expanse to "paint" over information technology with the cloned pixels from your sampling betoken.
Photoshop also features Burn and Dodge tools that yous can use to adjust image detail and restore former photos. These photo restoration techniques will make areas in your photo lighter or darker, depending on how much you've painted.
How to employ the Burn Tool or Dodge Tool:
- Select any of these tools.
- Choose a brush tip and set brush options in the options bar.
- Select any of the following Range options: Midtones, Shadows, or Highlights.
- Set up your preferred exposure for the Burn down tool or Contrivance tool.
- Turn your brush into an airbrush by clicking the airbrush icon or selecting the Airbrush pick in the Brush console.
- For less shadow and highlight clipping, select the Protect Tones pick.
- Drag the brush over the office that you want to lighten or darken.
When using whatsoever of these tools, information technology'south important to zoom in every bit close as you lot can on the spot you desire to set for the most accurate and refined results.
vi. Apply a filter to reduce noise
Y'all can't magically get rid of the grit and scratches with merely a press of a push button—you'll take to do information technology manually. Yet, you can make that job easier by using Photoshop'southward Filter functions to reduce some of that unwanted racket.
How to reduce dissonance in your image:
- Click on Filter in the taskbar.
- Select the Convert to Smart Filters option.
- Become back to the Filter tab, click on Racket and then select Grit & Scratches.
- Using the pop-upwards window, slowly increment the Radius pixels and Threshold levels in increments to achieve the desired effect. All the same, be careful non to overdo it to avoid losing too much detail.
- Click OK.
- Go back to Filter, click on Noise, so select Reduce Noise.
- Adjust the settings appropriately in the pop-upwardly window, and pay attention to the Preview box to monitor the upshot of each aligning.
7. Save the newly restored image
Once you lot're happy with the epitome, delete the unedited layer (the original reference layer) or right-click the edited layer and select Flatten Prototype (brand certain that your edited layer is on meridian). Afterward that, just follow the steps below to salve your photo. This will be the last part of your journey to restore old photos.
- Click File on the taskbar, and so select Salve As.
- Choose your preferred file format from the Format menu.
- Specify your filename and location.
- Select your preferred saving option in the Salvage Every bit dialog box.
- Click the Salve push button to salve your newly restored photo.
How to Restore Old Photos: Frequently Asked Questions
Tin can quondam, damaged photos be restored?
Depending on how badly damaged the photograph is, nigh erstwhile, damaged photos tin can definitely be restored, digitally at to the lowest degree. We accept outlined a very effective process for your in a higher place. However, here are a few suggestions for analog fixes.
Sometimes an quondam photograph tin can go stuck to the glass covering information technology, particularly if it has been hanging in a damp or humid surroundings. Before y'all pull it abroad and damage it further, first try using a pilus dryer on warm setting and heating the back of the print from about 5 to 8 inches away. If you take an old photo which has a tear through it, but you don't want the tear to progress or yous desire to put the pieces back together, you should apply acid-gratis tape equally it won't damage the print further.
What causes old photos to fade?
Old photographs often take a faded wait to them. The main reason for this is from the interaction of UV light with the ink or chemicals in the picture. Chromophores are compounds in ink that have the ability to absorb calorie-free. When the UV light and chromophores interact, they adversely affect the physical makeup of the ink or dye. This is what ultimately leads to fading of the photo.
Smoke, household chemicals, and grit can as well cause pictures to fade by dissentious its chemic makeup. You should try to proceed your photos away from open windows and fireplaces, if possible.
What is the all-time free photo restoration app?
Although Photoshop is an amazing app to assist you restore old photos, it is an expensive software requiring subscription payments. A good free app is Pixlr. The best role is all the editing is done completely online, so information technology's non specific to any operating organisation. There are many robust tools to choose from.
If you're familiar with other editing software similar Photoshop, you'll accept no trouble learning Pixlr. The tools have similar functionality and features. The "retouch" tool, specifically, is a favorite. With it, you can easily remove spots, scratches, and dust spots. One time you're washed restoring your one-time photograph, y'all can exist even more creative by removing the background, making a collage, and applying various filters. If you ever get stuck or want to dive deeper, there are plenty of tutorials bachelor on YouTube.
Conclusion
We hope you're institute our tutorial on how to restore erstwhile photos fun and educational. Adorama'due south 42West is the content destination for photographers, filmmakers, audio creatives, and all things electronic. Check out our upwards-to-date editorial features on all the latest gear, how-to's and interviews with today's most relevant manufacture insiders.

Source: https://www.adorama.com/alc/basic-photo-restoration-restore-old-photos-using-photoshop/
Posted by: cruzconarthery.blogspot.com
0 Response to "How To Restore Old Black And White Photos In Photoshop"
Post a Comment